

Hey there! As a 3D print supplier, I've seen my fair share of damaged 3D printed objects. It can be super frustrating when you put so much time and effort into a print, only to have it get banged up somehow. But don't worry! In this blog post, I'm gonna walk you through some steps on how to repair a damaged 3D printed object.
Step 1: Assess the Damage
The first thing you gotta do is take a good look at the damaged object. Figure out what kind of damage it has - is it a crack, a break, or maybe some surface scratches? This will help you decide on the best repair method.
If it's a small crack or scratch, you might be able to fix it with some simple tools and materials. But if it's a major break, you might need to get a bit more creative.
Step 2: Gather Your Tools and Materials
Once you know what kind of damage you're dealing with, it's time to gather the stuff you'll need to make the repair. Here are some common tools and materials that can come in handy:
- Glue: For small breaks and cracks, a good quality glue can work wonders. There are different types of glue you can use, like super glue or epoxy. Super glue dries quickly, but it might not be as strong as epoxy. Epoxy takes a bit longer to dry, but it forms a really strong bond.
- Sandpaper: Sandpaper is great for smoothing out rough edges and surfaces. You can use different grits of sandpaper depending on how rough the area is. Start with a coarse grit to remove any big bumps or ridges, and then move on to a finer grit to get a smooth finish.
- Putty: If there are any holes or gaps in the object, putty can be used to fill them in. You can find putty at most hardware stores. Make sure to choose a putty that's compatible with the material of your 3D printed object.
- Paint: Once you've made the repair, you might want to paint the object to make it look nice again. Choose a paint that's suitable for the material of your object. You can find spray paint or brush-on paint at the store.
Step 3: Repair Small Cracks and Scratches
If you're dealing with a small crack or scratch, here's how you can fix it:

- Clean the Area: First, clean the damaged area with a clean cloth and some rubbing alcohol. This will remove any dirt or debris and help the glue or putty stick better.
- Apply Glue or Putty: If it's a crack, apply a small amount of glue along the crack. Press the two sides together firmly and hold them in place until the glue dries. If there's a small hole or gap, use putty to fill it in. Smooth the putty out with a putty knife or your finger.
- Sand the Area: Once the glue or putty has dried, use sandpaper to smooth out the area. Start with a coarse grit sandpaper and then move on to a finer grit for a smooth finish.
- Paint the Area: If you want to, you can paint the repaired area to match the rest of the object. Make sure to let the paint dry completely before using the object.
Step 4: Repair Major Breaks
If the object has a major break, you'll need to take a different approach. Here's how you can repair a major break:
- Align the Pieces: Carefully align the broken pieces of the object. You might need to use some clamps or tape to hold them in place while you make the repair.
- Apply Glue or Epoxy: Apply a generous amount of glue or epoxy to the broken edges. Make sure to spread the glue evenly so that it forms a strong bond. Press the pieces together firmly and hold them in place for the recommended drying time.
- Reinforce the Repair: If the break is in a high-stress area, you might want to reinforce the repair with some additional materials. You can use fiberglass cloth or carbon fiber tape to add strength to the repair.
- Sand and Paint: Once the glue or epoxy has dried, use sandpaper to smooth out the repair area. Then, paint the object to make it look nice again.
Step 5: Finishing Touches
After you've made the repair, it's time to give the object a final touch-up. Here are some things you can do:
- Polish the Surface: If the object has a smooth surface, you can use a polishing compound to make it shine. Apply the polishing compound to a soft cloth and rub it on the surface in a circular motion.
- Check for Any Loose Parts: Make sure all the parts of the object are securely attached. If there are any loose parts, use glue or other fasteners to fix them.
- Test the Object: Once you're satisfied with the repair, test the object to make sure it works properly. If it's a functional object, use it in its intended way to see if it performs as expected.
Why Choose Our 3D Printing Services
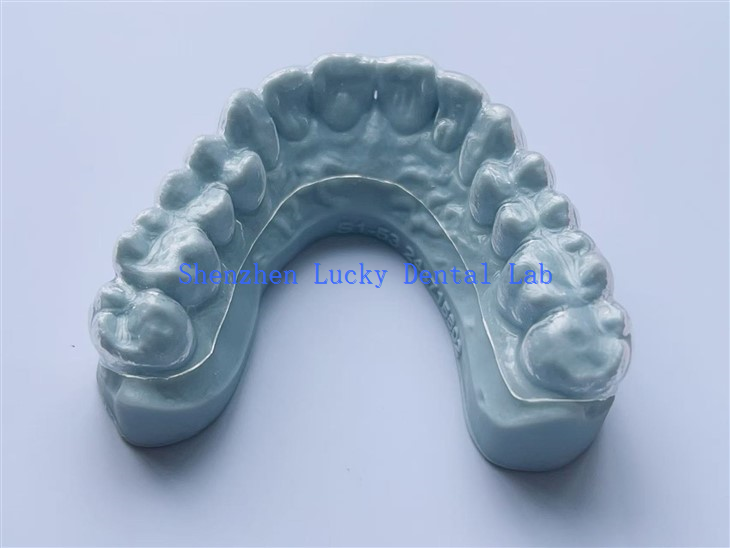
As a 3D print supplier, we offer high-quality 3D printing services for a wide range of applications. Whether you need China 3D Print Dental Partial Flexible Denture Factory, High Quality 3D Print Partial Flexible Denture Manufacturers, or 3D Print Bleaching Tray Dental Lab, we've got you covered.
We use the latest 3D printing technology and high-quality materials to ensure that our prints are accurate, durable, and look great. Our team of experts is always ready to help you with any questions or concerns you might have.
If you're interested in our 3D printing services or have a damaged 3D printed object that needs repair, don't hesitate to reach out. We're here to help you bring your ideas to life and get your 3D printed objects back in working order.
Conclusion
Repairing a damaged 3D printed object might seem like a daunting task, but with the right tools, materials, and techniques, it can be done. By following the steps outlined in this blog post, you can fix small cracks, scratches, and even major breaks in your 3D printed objects.
And if you need any help with 3D printing or repairs, remember that we're a 3D print supplier that's dedicated to providing high-quality products and services. So, don't hesitate to contact us if you have any questions or if you're ready to start a new 3D printing project.
References
- "3D Printing Handbook" by John Doe
- "Repairing 3D Printed Objects: A Guide" by Jane Smith